Navigating between panels
Add navigation pages and setup a panel model for your project.
In this module, add four navigation pages. These pages are represented by
panels
, with the same dimensions and the tabs of the navigation panel. First set up a panel model (called type
), then you can derive the three panels.This is the final result:
- Pages and panels -Typically, in the context of HMI applications, the different sections of an interface are calledpagesorpanels. A panel is a container that can perform the traditional function of a page or a section within a page.
- Manage similar objects - When several similar objects must be created, for example objects that share the same properties, it is good practice to create a model, calledtype, from which to derive the different objects needed (instancesof the type). This facilitates the readability and maintenance of the project: in fact if we change a type, the same change propagates to all its instances.
- Folders - To facilitate the project readability, it is good practice to organize the objects in folders, for example, organize thetypesof graphical objects in aMyTypesfolder.
Step #1: Organize the objects
For a better organization of the project, we will create a folder dedicated to the panels and rename it.
- Right-click theUIfolder, then selectNew>Folder: theNewFolder1folder appears inUI.
- To rename the folder, with the folder selected press F2 and rename it toMyPages.
Step #2 Create and set the panel model
- Right-clickMyPages, then selectNew>Containers>Panel1 (type)appears inMyPages.
- RenamePanel1 (type)toPage.
- Double-click the new panel to display it graphically in the editor.
- InProperty, setHorizontal alignmentandVertical alignmenttoStretch: the panel thus set adapts horizontally and vertically to the dimensions of its container, in our example the navigation panel.
- For more design space, it is recommended to enlarge the panel, for example setWidthto 500 pixels andHeightto 400 pixels.
Panels derived from this panel will have the same properties as it.
NOTE:
- All objects with(type)suffix can be used to derive other objects with the same characteristics.
- The dimensions set in step 5 are only used to give more space in the design phase. At runtime the panel stretches to fit its container.
Step #3: Derive the panels
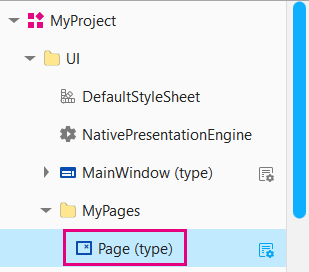
In the
MyPages
folder, we will derive four panels the same as the model just set:- Right-clickMyPages, then selectNew>MyPages>Page (type):Page1 (type)appears inMyPages.
- Repeat the previous step three times to derive three more panels.
The four derived panels have the same properties as
Page (type)
. The object from which they derive can be displayed in the Properties
panel: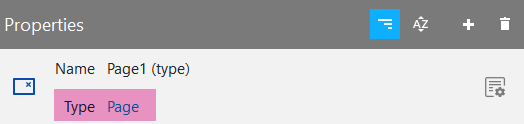
Find out more about types: Object types and instances.
Step #4: Organize the navigation
To set the newly created panels as navigation panel tabs, drag
Page1 (type)
, Page2 (type)
, Page3 (type)
and Page4 (type)
onto NavigationPanel1
.Double-click
NavigationPanell1
to display it updated.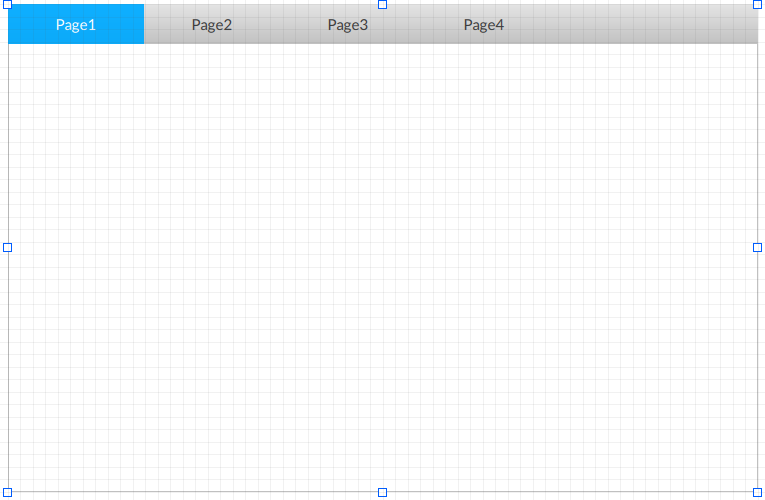
Step #5: Check the navigation at runtime
The panels are currently empty, so to check the navigation at runtime we will create test contents in the different panels:
- InProject, right-clickPage1 (type), then selectNew>Basic controls>Label1appears inPage1 (type).
- Double-clickPage1 (type)to display the object in the editor, then drag the label in the desired position.
- Repeat the two previous steps forPage2 (type),Page3 (type)andPage4 (type).
- Click
 Emulatorand wait for the runtime window to appear.
 - Click on the different panels to check the operation at runtime, then close the window.
- Delete the four newly-created labels. To do it, inProjector in the graphical editor select the first label and pressDELETE. Repeat the same operation for the other three labels.
Provide Feedback