Configure Sensors
After adding an asset or component, you need to configure sensors. There are two types of sensors:
Sensor Type | Description |
|---|---|
Physical Sensors | Physical sensors also known as real-world sensors, are devices that interact with the physical environment to measure various physical properties and convert them into electrical signals or digital data. |
Virtual Sensors | Virtual sensors are not directly measured by a sensor but instead, it is derived through mathematical or computational operations based on the data collected from sensors or other sources. |
Perform the following steps to configure physical sensors:
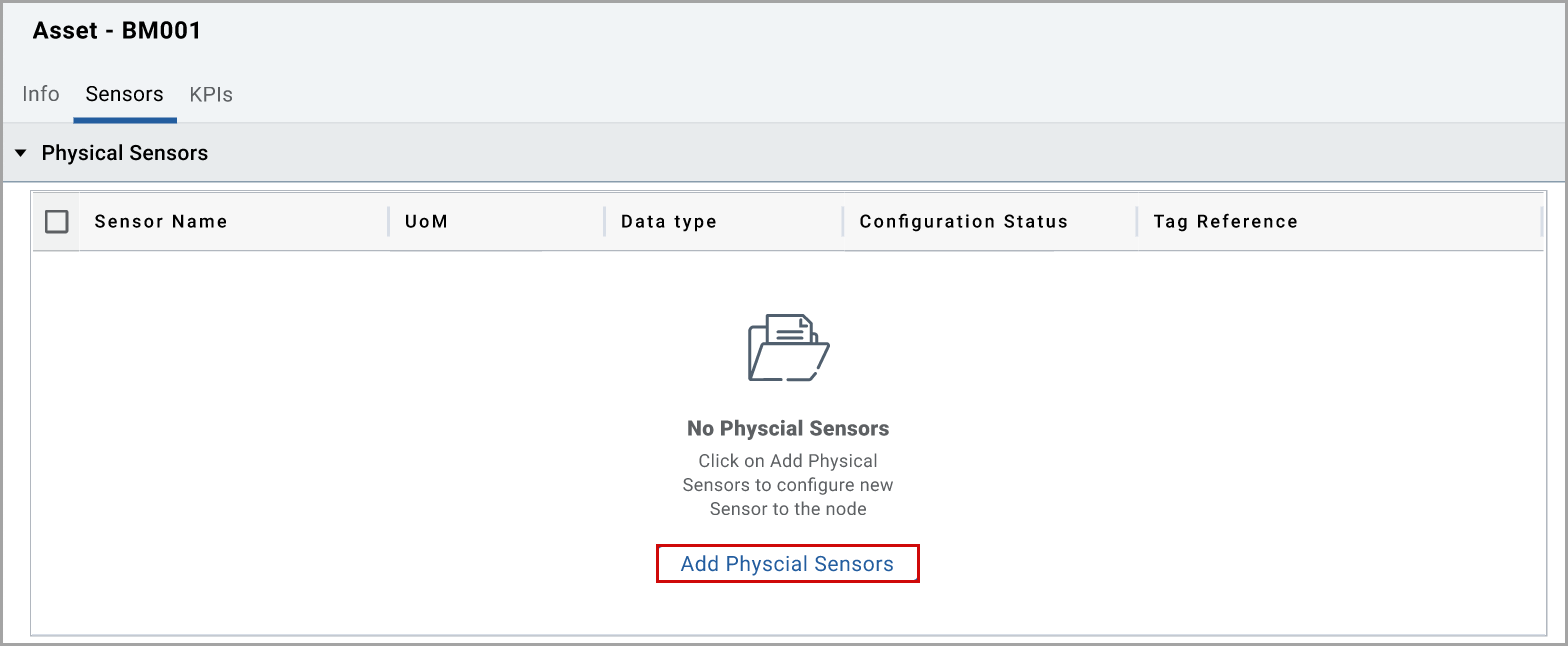
- After adding an asset or component, select theSensorstab.
- Click [Add Physical Sensors].Add Physical Sensors
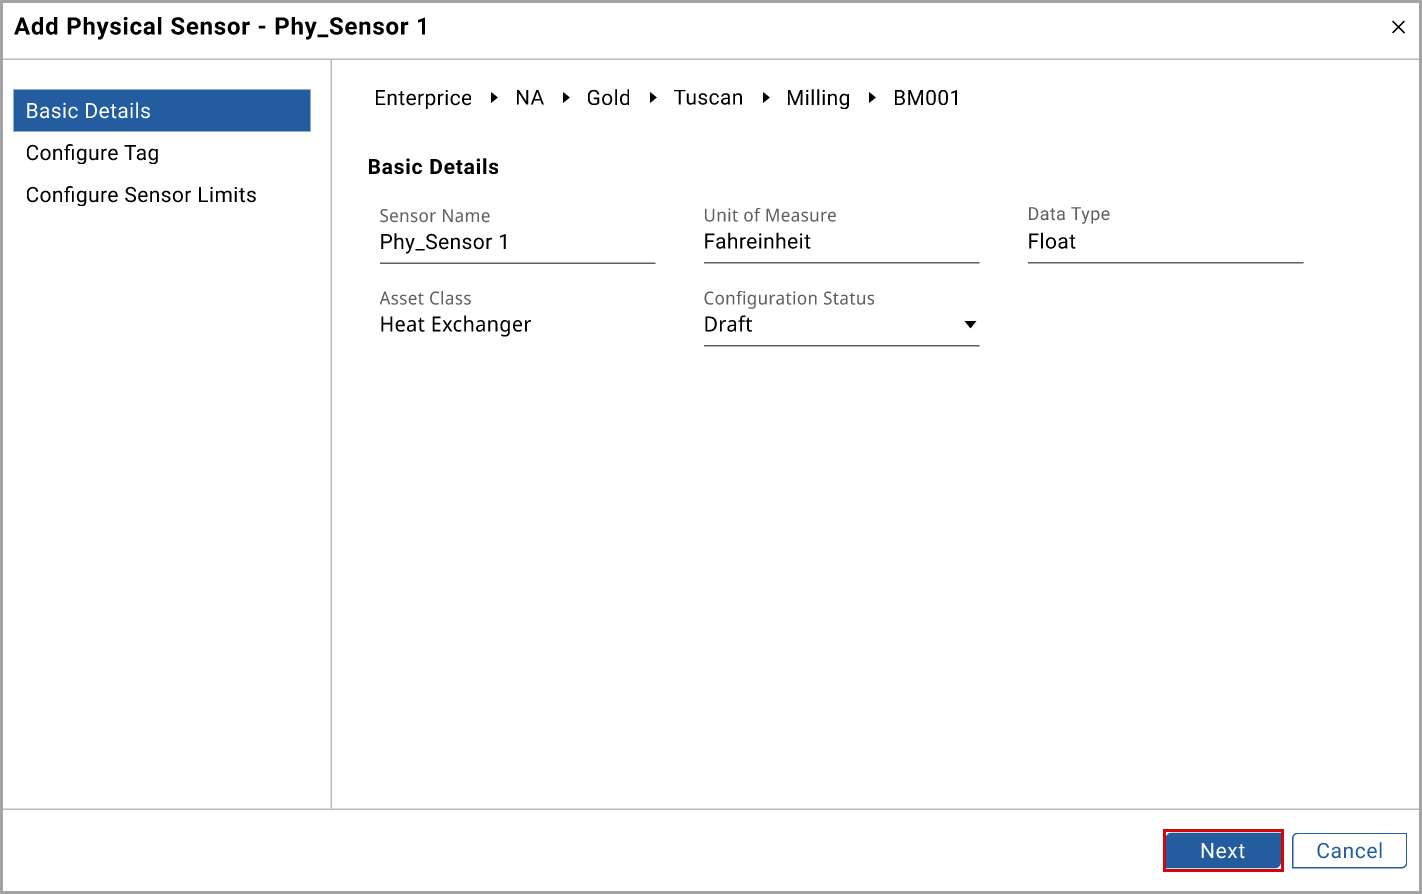
- In theBasic Detailstab, set these parameters:
- Sensor Name: Provide the sensor name.
- Unit of Measure: Provide the unit of measure.
- Data type: Provide the data type.
- Asset Class: By default, it shows the asset class details.
- Configuration Status: Select the status from the drop-down list.
- Click [Next].Basic Details
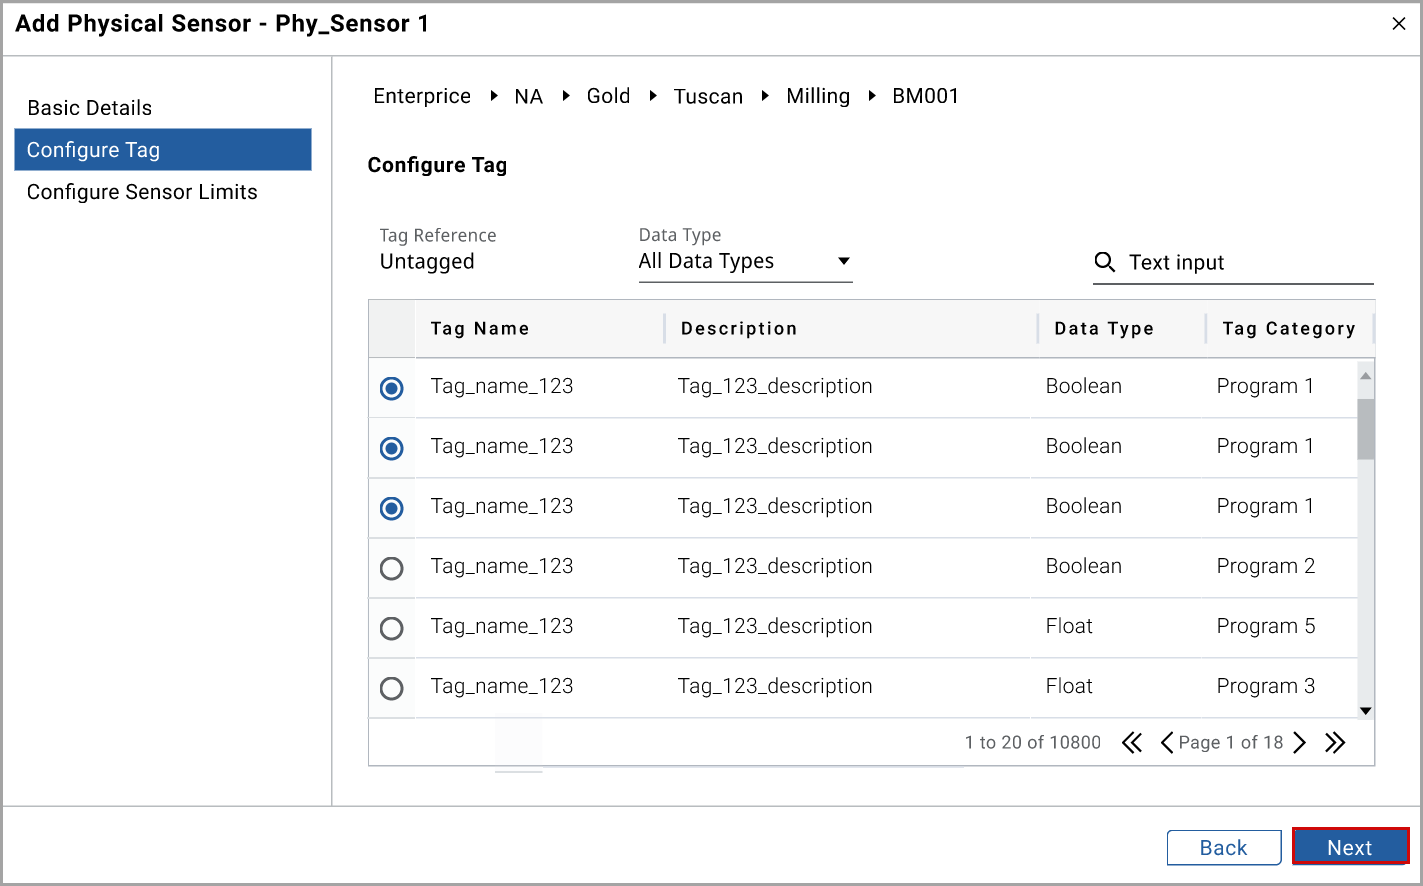
- In theConfigure Tagtab, select the required tag name radio button, and click [Next].Configure Tag
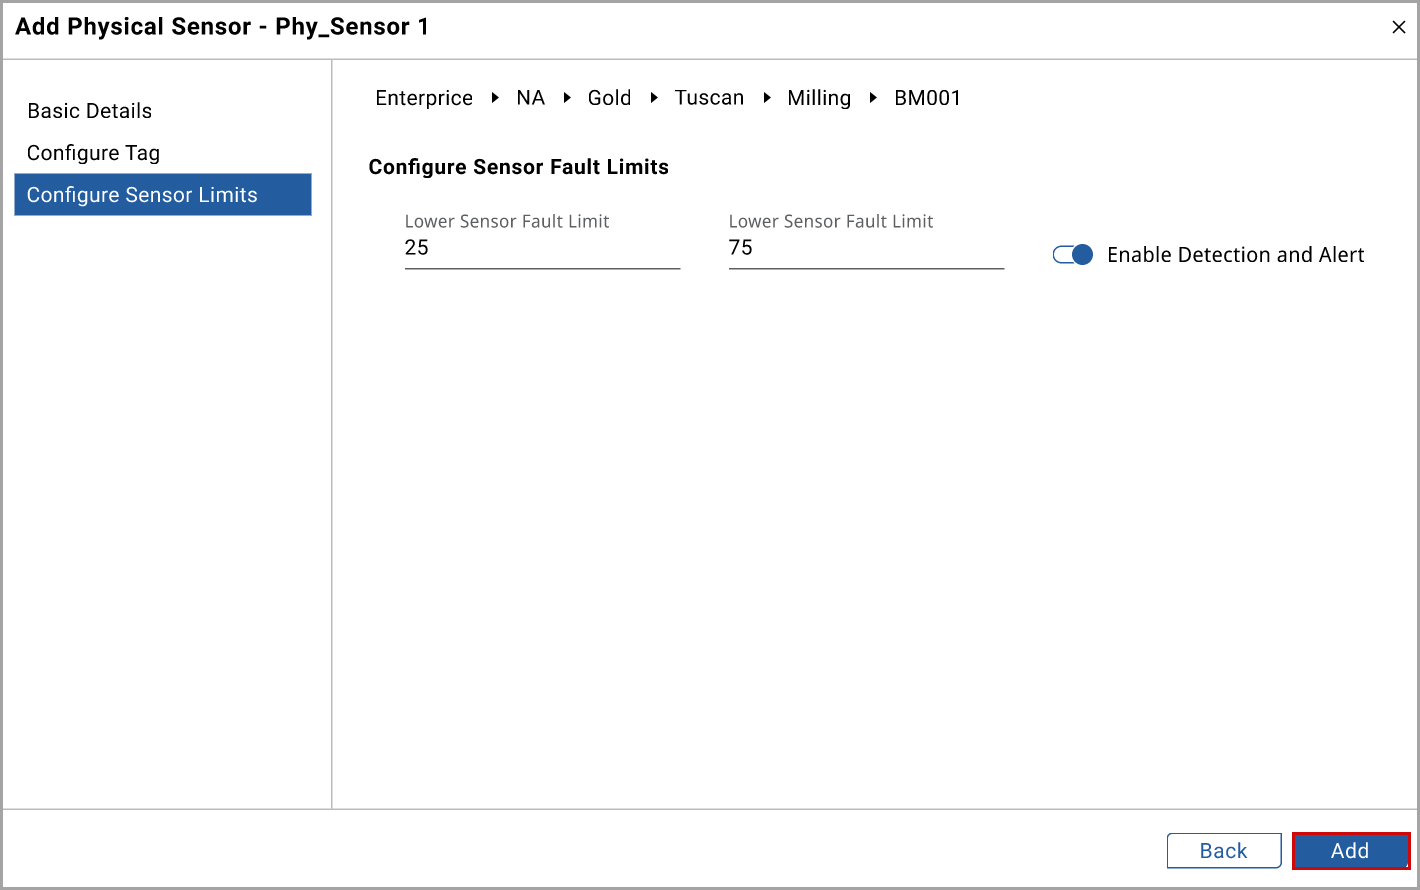
- In theConfigure Sensor Limit, provide the value in theLower Sensor Fault LimitandUpper Sensor Fault Limit.NOTE: To enable detection and alert, enable the toggle button.
- Click [Add].Configure Sensor Limits
 The Physical Sensor is added to the table and the "Physical sensor was added under the asset successfully" message displays.
Perform the following steps to configure virtual sensors:
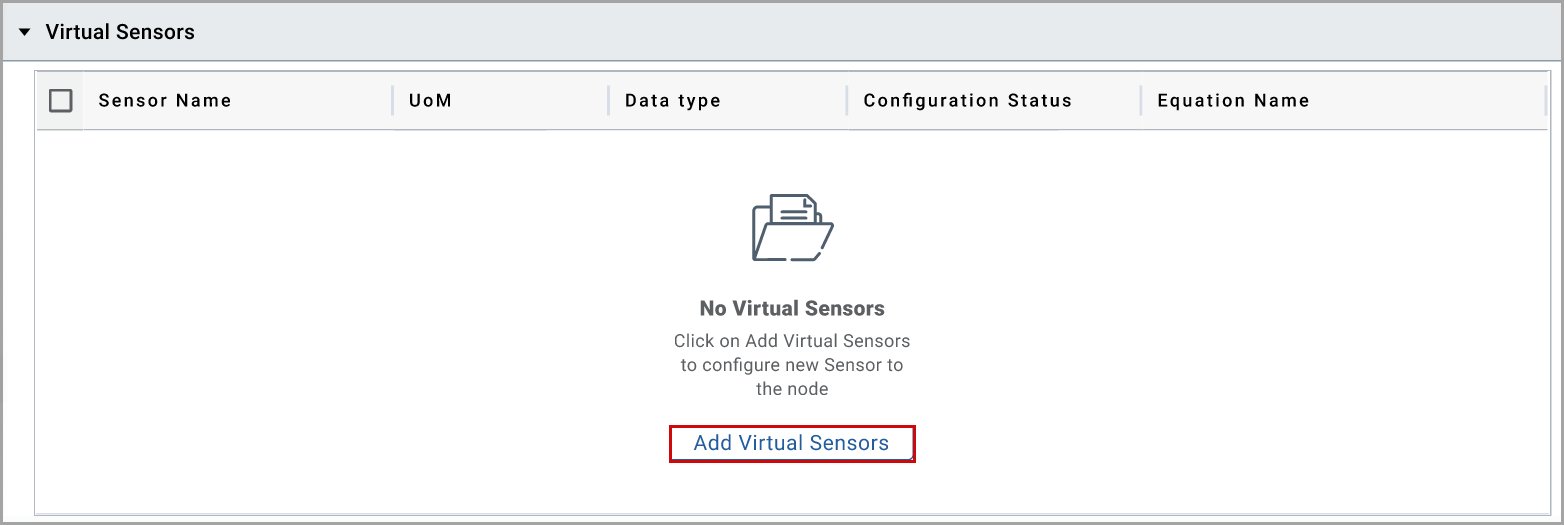
- After adding an asset or component, select theSensorstab.
- Click [Add Virtual Sensors].Add Virtual Sensors
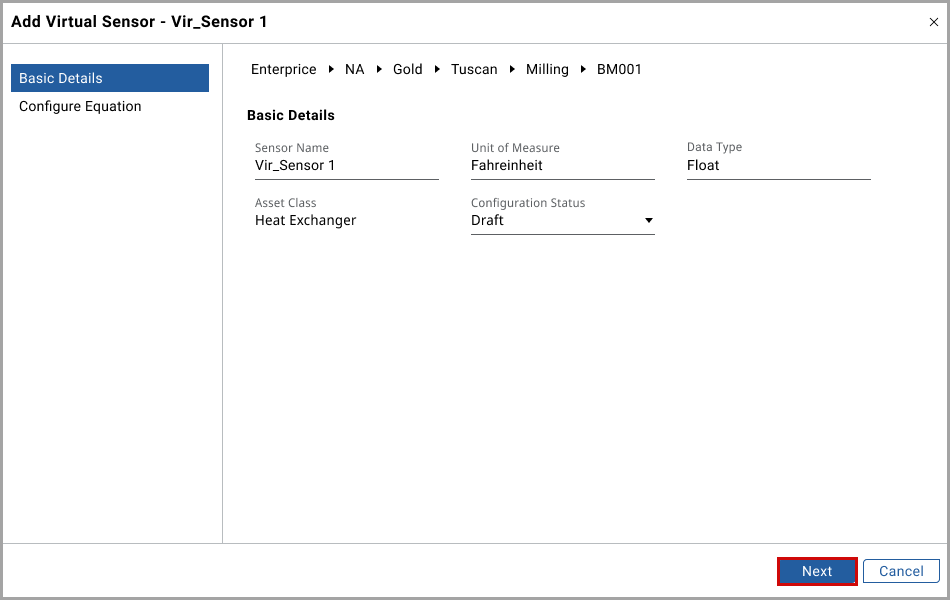
- In theBasic Detailstab, set these parameters:
- Sensor Name: Provide the sensor name.
- Unit of Measure: Provide the unit of measure.
- Data type: Provide the data type.
- Asset Class: By default, it shows the asset class details.
- Configuration Status: Select the status from the drop-down list.
- Click [Next].Basic Details
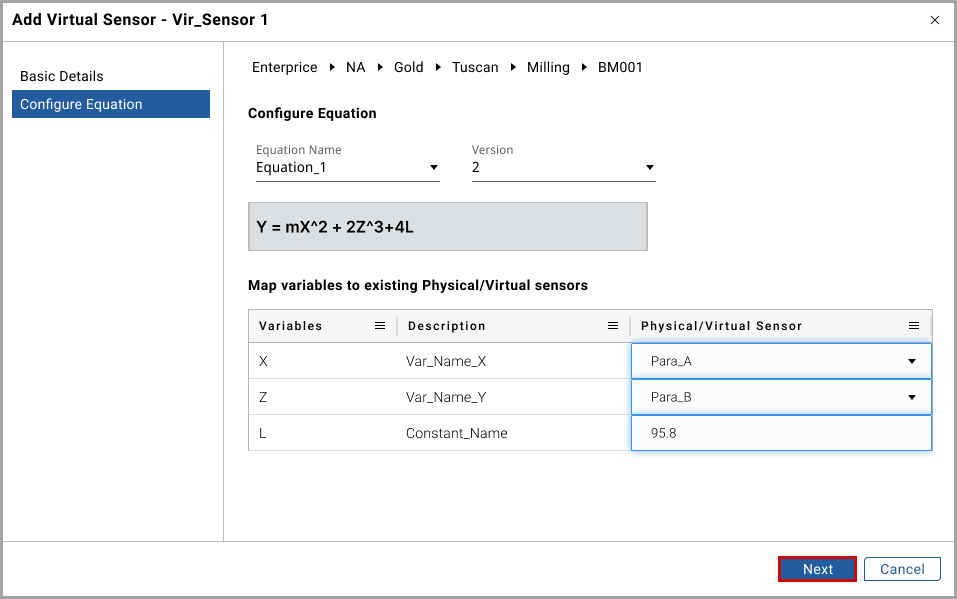
- In theConfigure Equationtab, perform the following actions:
- Equation Name: Select the equation name from the drop-down list.
- Version: Select the version from the drop-down list.
- Map the variables to the virtual sensors.
- Click [Add].Configure Equation
 The sensor is added to the table and the "Virtual sensor was added under the asset successfully" message displays.
Perform the following steps to edit the Physical and Virtual sensor details:
- Select the required sensor check box from the Physical Sensors or Virtual Sensors table.
- Click [Edit] and edit the required fields.
- Click [Save].
Perform the following steps to delete the sensor details:
- Select the required sensor check box from the Physical Sensors table or Virtual Sensors table.
- Click [Delete].
Provide Feedback