FT Activation Service
Pre-requisites: Certificate files (<Hostname_FQDN>.p12 file)
- On the Component Selection screen, select the following components:
- FT Activation Manager
- FT Activation ServiceNOTE:FT Activation Service cannot be installed without FT Activation Manager.
- Click [Next].Component Selection
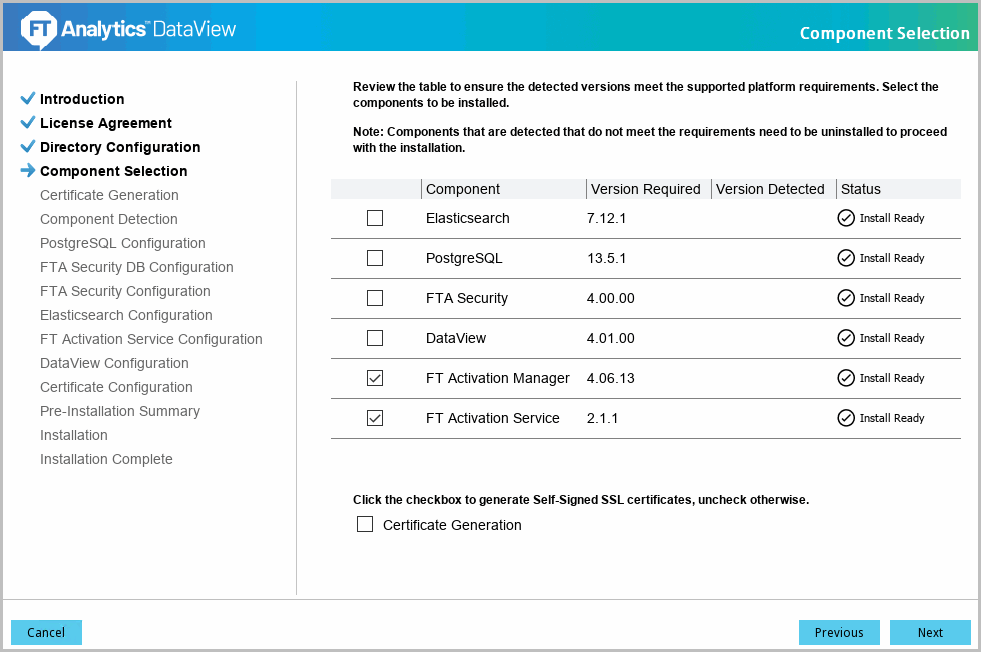 NOTE:The following status will be displayed based on the version of FTActivation installed for DataView:
- If lower version of FTActivation is already installed, the “Not Supported” Status will be displayed. User needs to manually uninstall the lower version of FTActivation and then run the DataView installer.
- If same version (4.06.13) version of FTActivation is already installed, the “Installed” Status will be displayed.
- If Higher version of FTActivation is already installed, the “Supported” Status will be displayed.
NOTE:If Java is not installed, then the installer will install Java along with FT Activation Service. - The 'FT Activation Service Configuration' screen displays. Define the following fields:IMPORTANT:Ensure that proper permissions are provided to access certificates folder.
- Certificate File: Provide the path of the certificate file where the certificate is generated.
- Certificate Password: Provide the password of the certificate file.
- Certificate Key Password: Provide the password for the Certificate Key.
- FT Activation Service Port: Default port number for HTTPS is 27100. It is recommended to use the default port number.FT Activation Service Configuration
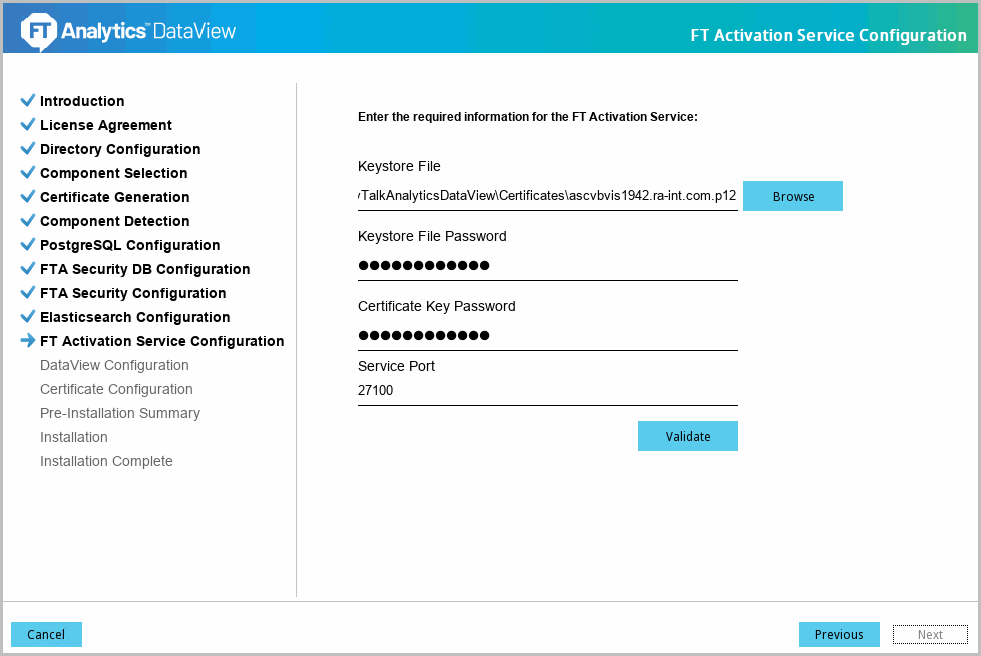
- Click [Validate] to verify the provided details. The ‘Validation successful’ message displays if the details are valid. Click [Next] to continue.Verify FT Activation Service Configuration
- The 'Pre-Installation Summary' screen displays. Verify the following:
- Product Name
- Install Folder
- Disk Space Information
- Install Component(s):
- Component Name
- Component Version Numbers
- Component Port NumbersPre-Installation Summary
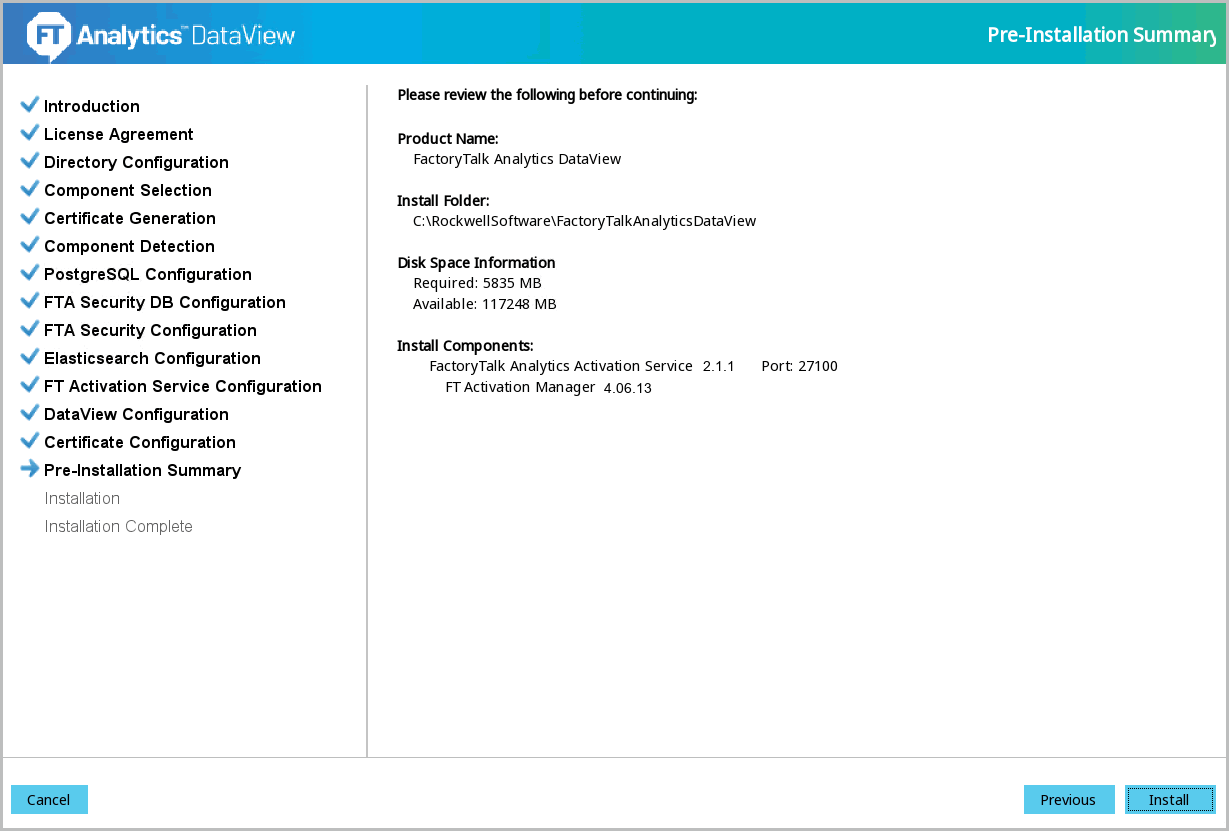
- Click [Install] to begin the installation. The installation progress screen displays.
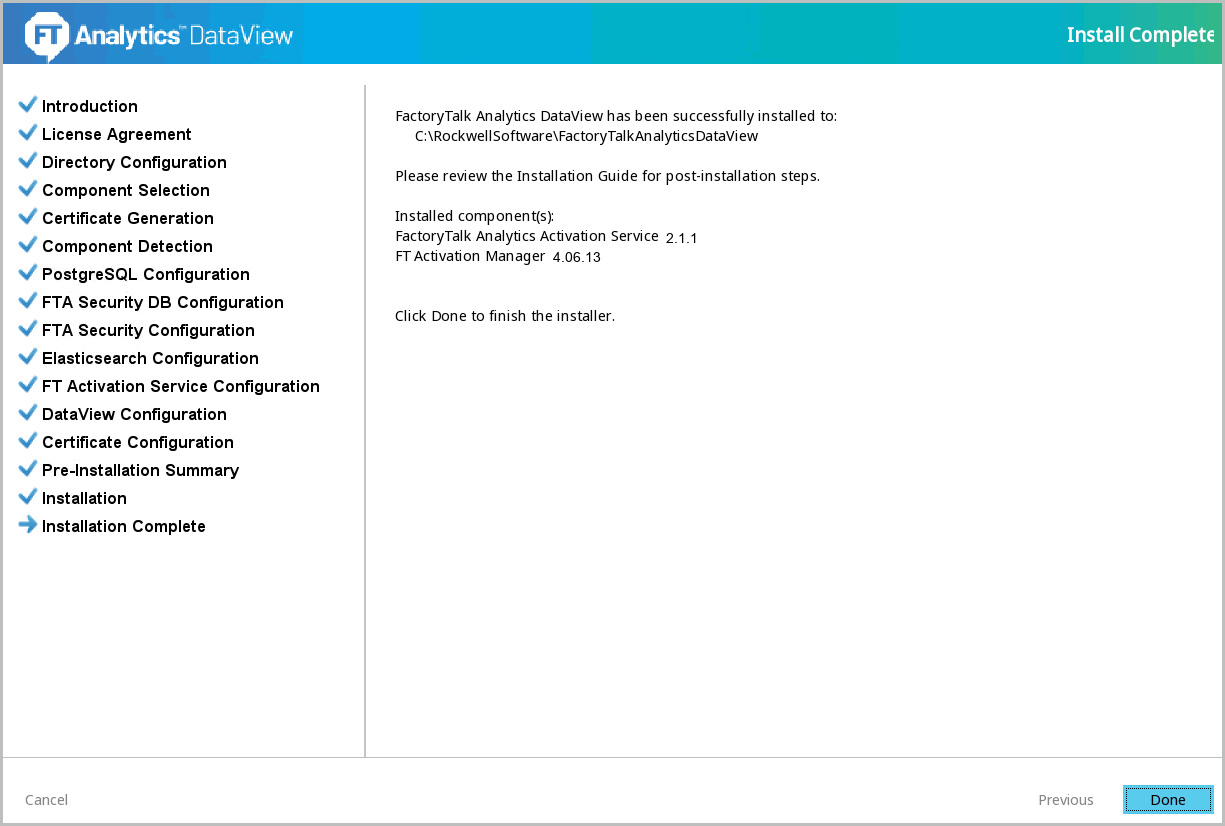
- The 'Install Complete' screen displays. Click [Done] to close the installer.NOTE:If any warnings or errors display, check the installation logs before exiting the installer.Install Complete
Provide Feedback