Configuring recipes
Create and configure a set of objects to manage a recipe.
This module describes creating and configuring:
- a database in which to store the recipes data at runtime
- a Recipe Schema object in which to define the set of variables oringredientsof the recipe
- a graphical widget (Recipes Editor) used to manage recipes at runtime
Step #1: Create the database for the recipes
- InProject, right-clickDataStores, then selectNew>Embedded Database.EmbeddedDatabase1appears.
- RenameEmbeddedDatabase1toRecipeDB.
NOTE:
Multiple databases used to store different data can exist in the same project. This allows for better project readability.
Step #2 Create and set the Recipe Schema object
In the Recipe Schema object, set up the controller variables that make up the recipe and the database in which to store recipes at runtime. Configure the object:
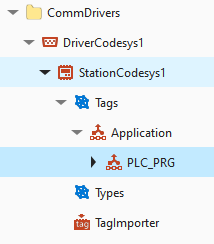
- Right-clickRecipes, and selectNew>Recipe Schema:RecipeSchema1appears.
- RenameRecipeSchema1toMyRecipe.
- SelectMyRecipe.In theDestination nodeproperty, set a dynamic link withcontroller_PRG.
- fromProjectdragcontroller_PRGonto theDestination nodevalue. In this way, from theMyRecipeobject the variables that make up the recipe can be selected from those imported from the controller.
- Double-clickMyRecipe.The editor to select the variables of interest opens.
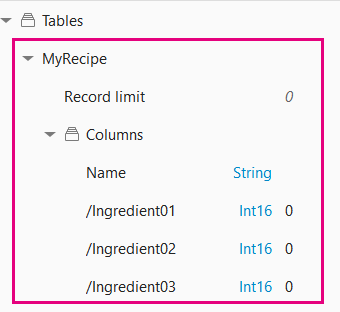
- Select the variablesIngredient01,Ingredient02andIngredient03and selectApply.Tthe variables synchronized are the recipe ingredients.NOTE: If the selected controller variables are changed, repeat this step to display the changes in theMyRecipeobject.
- In the MyRecipeStoreproperty, set a dynamic link withRecipeDB.InRecipeDB,aMyRecipethree-column table is automatically configured, one for each recipe variable.
Step #3: Configure the widget to manage the recipes
Use the Recipes Editor widget to display the recipe ingredients at runtime and set the values of the variables, to store/modify different recipes, and to load the desired recipe on the controller. Configure the widget:
- To add the widget, select . The template library opens.
- InWidgets, drag theRecipes EditorintoPage4 (type). TheRecipesEditor1object appears in the panel.
- Close the template library.
- To link the widget to the recipe, selectRecipesEditor1.In theRecipeSchemaproperty, set a dynamic link withMyRecipe.
- For the widget to show the recipe variables insideRecipesEditor1, right-clickRecipesEditorUISetupand selectExecute Setup. The ingredients in the widget update.
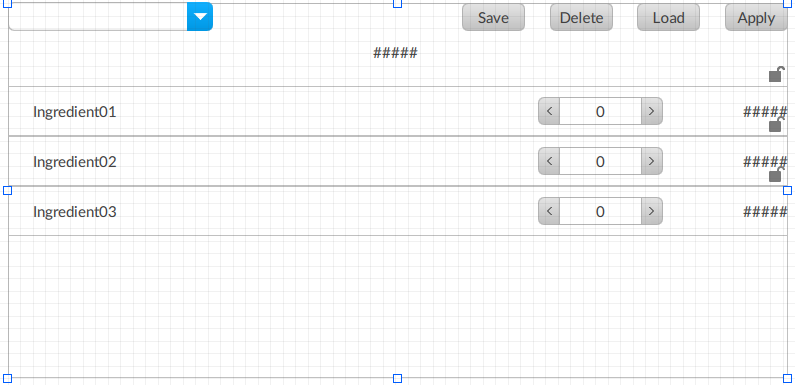
This tables describes the widget buttons.
Button | Function |
|---|---|
Save | Store the recipe in the database during editing. |
Delete | Delete the selected recipe from the database. |
Load | Load the recipe values from the controller to the HMI application. |
Apply | Apply the selected recipe on the controller. |
Step #4: Check the operation at runtime
- Select
 Emulatorand wait for the runtime window to appear.
 - SelectPage4to display the recipe widgets.
Step #5: Store a new recipe
- Edit the value of the ingredients.
- In the combo box, enter a name for the recipe and select Enter.
- SelectSaveto store the recipe in the database.
- Repeat the previous three steps for each recipe to save.
Step #6: Apply a recipe on the controller
- Select the desired recipe to display the recipe ingredient values.
- SelectApply. The widget shows the ingredient values loaded on the controller in the right column.
- To change the ingredient values on the controller, change the values in the spin box and selectApply. The updated ingredient values on the controller appear in the right column.
Provide Feedback