Production Meter Tag Mapping
After adding the Production meter to the hierarchy list, perform the following steps for tag mapping:
- Select the Production meter from the hierarchy list and select theTag maptab.
- Click [Add Tag].
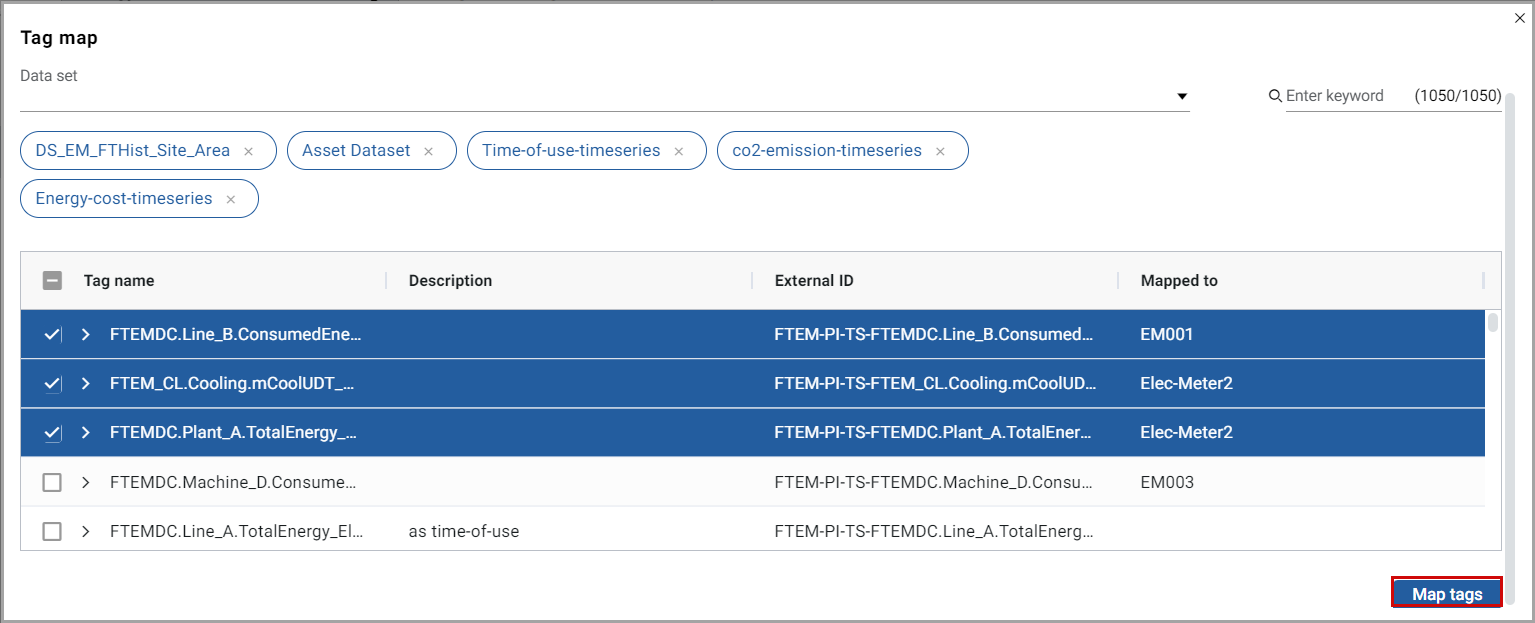
- In theTag Mapdialog, select the necessary data set from theData setdrop-down list.NOTE: The data set is a container for data objects with metadata about the data it contains.
- (Optional) Filter the tag name by providing the keyword.
- Select the relevant tag name check box from the table and click [Map Tags].Tag map dialog
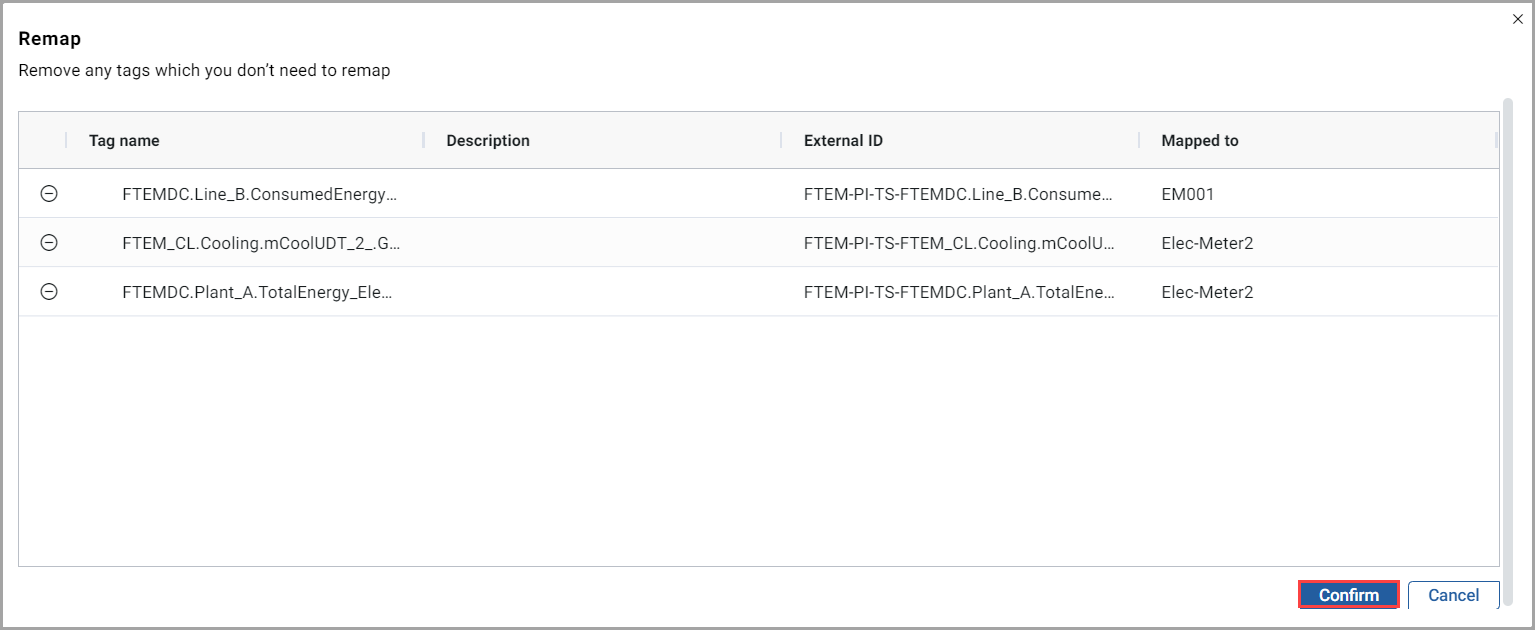
- You can select mapped and unmapped tags for tag mapping. If you select mapped tags, an alert message will appear, providing instructions to confirm the remapping. Click on the [
 ] icon to remove tags that are not required to remap.NOTE: Data is not modified or deleted during remapping.
 - To continue with remap, click [Confirm].Multiple tag remapping
 Single tag remapping
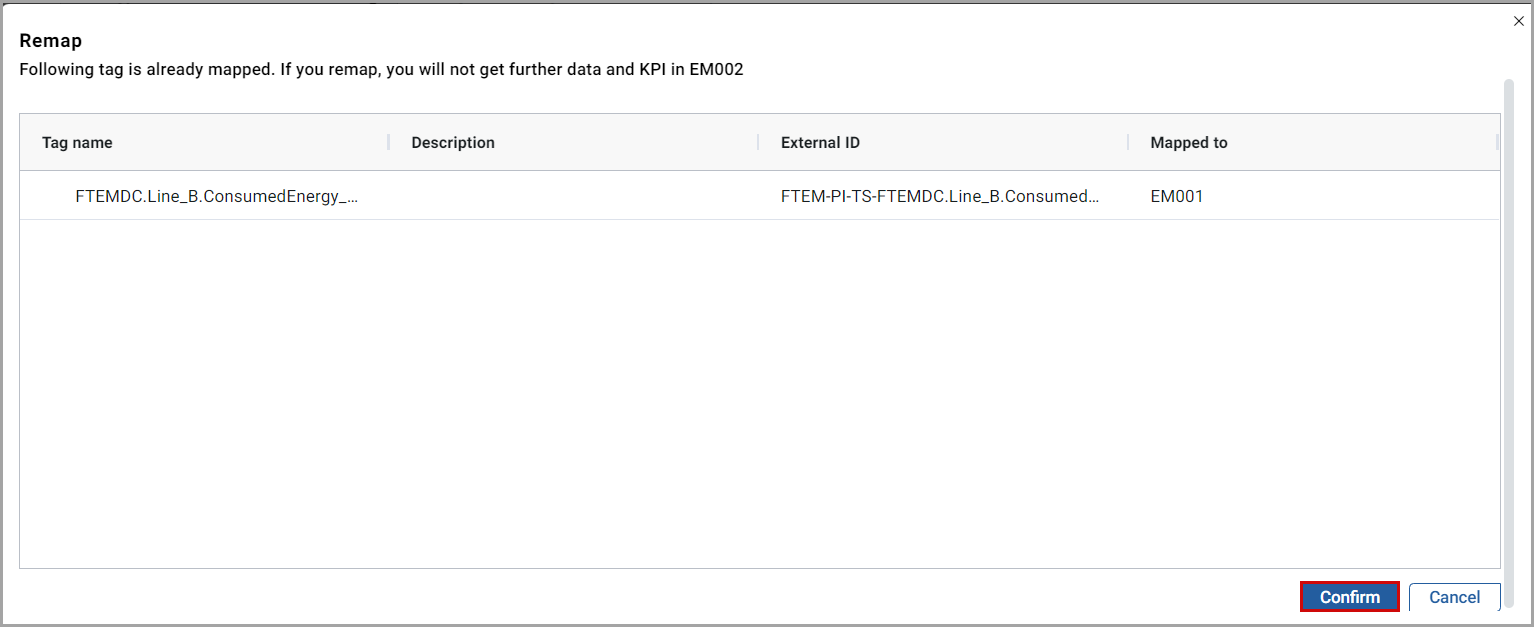
- In theTag mapdialog, click [Map Tags]The "Selected tags are mapped to the Production meter successfully" message displays.NOTE:Once the tag is mapped, make sure to update the mandatory fields (Production MeasurementandAttributes) by following the steps 9-11. Failing to do so will cause errors in the dashboard charts.
- Click the [
 ] icon beside the tag name and the Edit Tagdialog is displayed.Edit Tag Dialog
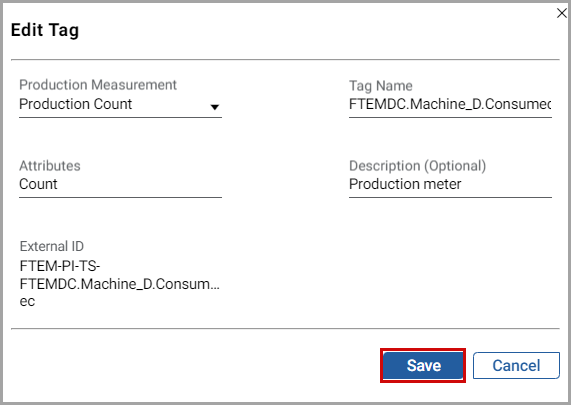
- Provide theProduction MeasurementandAttributesdetails and click [Save].
- The "Tag changes updated successfully" message displays.
- To remove tags, select the required tag check box from theTag Maptable.
- Click [Remove].
- In theRemove Tagsdialog, click [Delete].Remove Tags Dialog
 The "Tag removed successfully" message displays.
Related Information
Provide Feedback